crylics are used in a variety of applications and are very popular in both residential and commercial products. Acrylics are available in vibrant and unique colors, making them more appealing to consumers than glass. Additionally, acrylic products require much less maintenance and care than glass products. Acrylic is a safer, more cost-effective and durable option compared to glass and other plastic materials. It is transparent, shatterproof, easy-to-use and highly versatile, but it is imperative that you know how to clean, polish and repair your acrylic to extend its life.

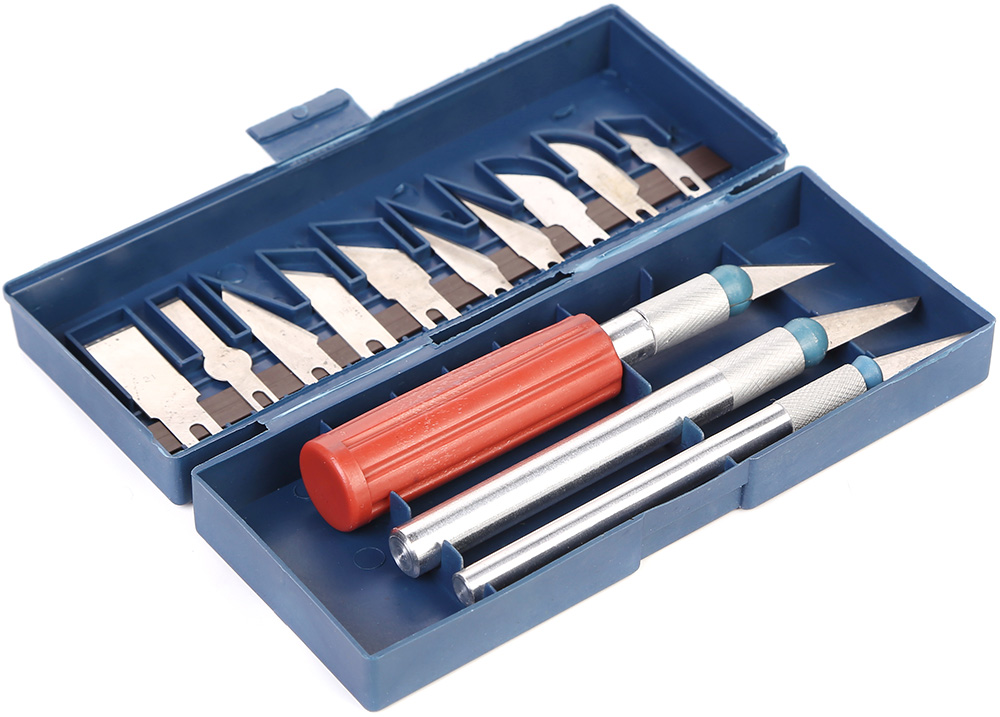
NOVUS Plastic Polishes. Photo courtesy of NOVUS 2 LLC.
The type of cleaner you select is also very important. Ammonia-based cleaning products can damage acrylic, causing cracks, discoloration, brittleness or crazing. Whether you use mild soap and warm water or an acrylic cleaner, be gentle and wipe with light pressure. Too much pressure can leave scratches behind on the surface. Use a dry cloth to get all water and plastic cleaner off the surface to help prevent streaks. Acrylic cleaners will leave a lustrous shine that resists fogging, repels dust and eliminates static.
After ensuring compatibility with your surface, apply the scratch remover polish liberally to the surface. Using a clean, soft cloth, buff the polish into the surface, keeping the cloth saturated with polish. Greater pressure may be required on deeper scratches. When scratches have been polished out, let the surface dry to a light haze. Using a clean cloth, buff the surface to a slippery glaze using firm, short strokes – this procedure is imperative to achieve the best results. The ideal buffing cloth is clean, nonabrasive, absorbent and lint-free.
If the scratched area is large or badly damaged, a power buffer may be used with the plastic scratch removers. Use a clean wool, cotton or foam bonnet and operate the buffer at a low speed, approximately 1,000 RPM’s, to avoid overheating the plastic. Each polish should be applied with a different, clean bonnet.
When handling acrylic sheets, always use clean gloves or other protective gear to prevent fingerprints, smudges or scratches. Avoid sliding or dragging the sheets, as this could cause abrasions.
The following guidance for advanced care of acrylic products was contributed by Displays2Go, a manufacturer and retailer of business displays.
Sand the acrylic just like you would a piece of wood. Work your way across the surface with a coarser sandpaper first, then move on to a finer sandpaper. For deep scratches, we recommend starting with a 220-grit or 320-grit paper, then moving up to a 600-grit or 800-grit. Use light pressure and keep the sander moving at all times for the best results. This will avoid heat buildup and damage to the acrylic. Always wear a mask when sanding to avoid dust inhalation.
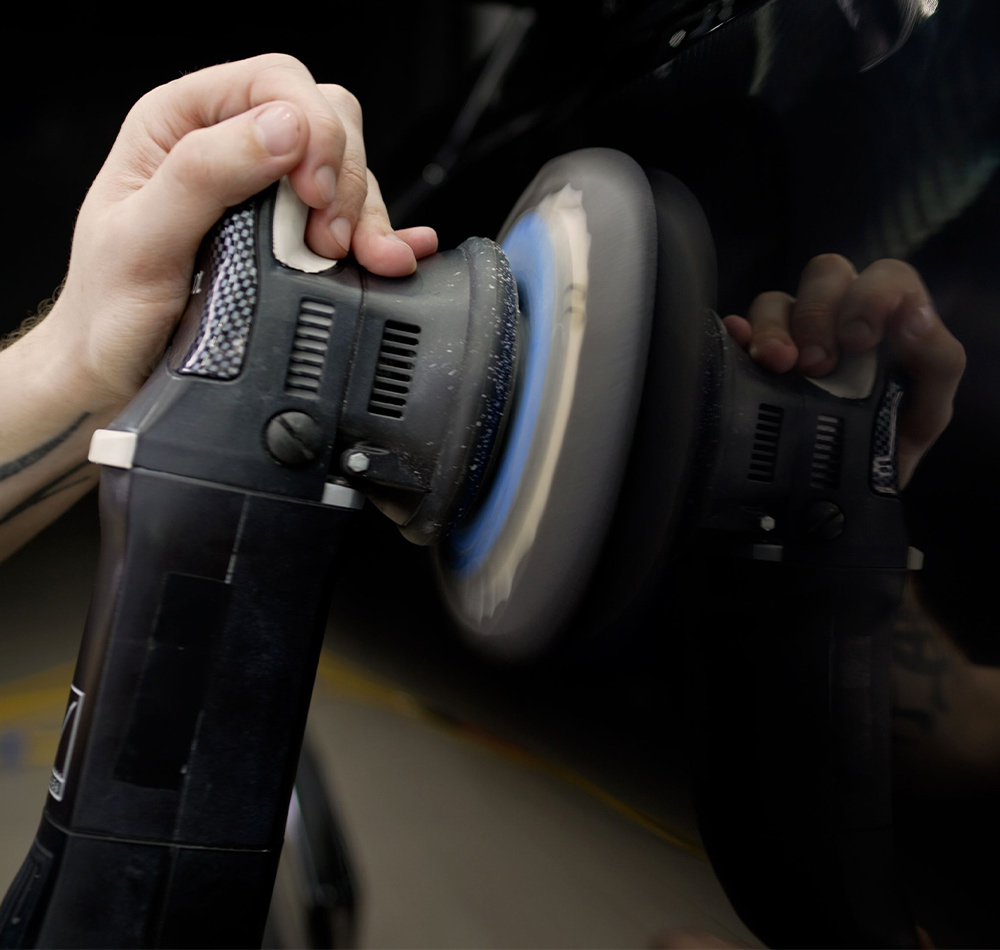
Acrylic buffer.
The finished quality of the acrylic will depend on the type of polish compound you use. A medium cutting compound will result in a glossy finish. A higher luster finish can be achieved by applying a fast-cutting compound followed by a fine compound; this is a longer process, but it will result in the best finish.
Flame polishing is a technique that can provide a smooth glossy edge on acrylic. Flame polish using a normal hydrogen-oxygen torch with a #4 or #5 tip and gently melt the sanded, buffed, or machined edges of the acrylic. Start by guiding the torch flame across the acrylic edge at a rate of approximately 3” to 4” per second. You want to heat the edges with swift motions.. If the flame moved too slowly or held too close to the surface, stress, crazing, bubbles or melting can occur, ruining the finish. If done right, the edges will have a clean, shiny finish that will make your finished product stand out.